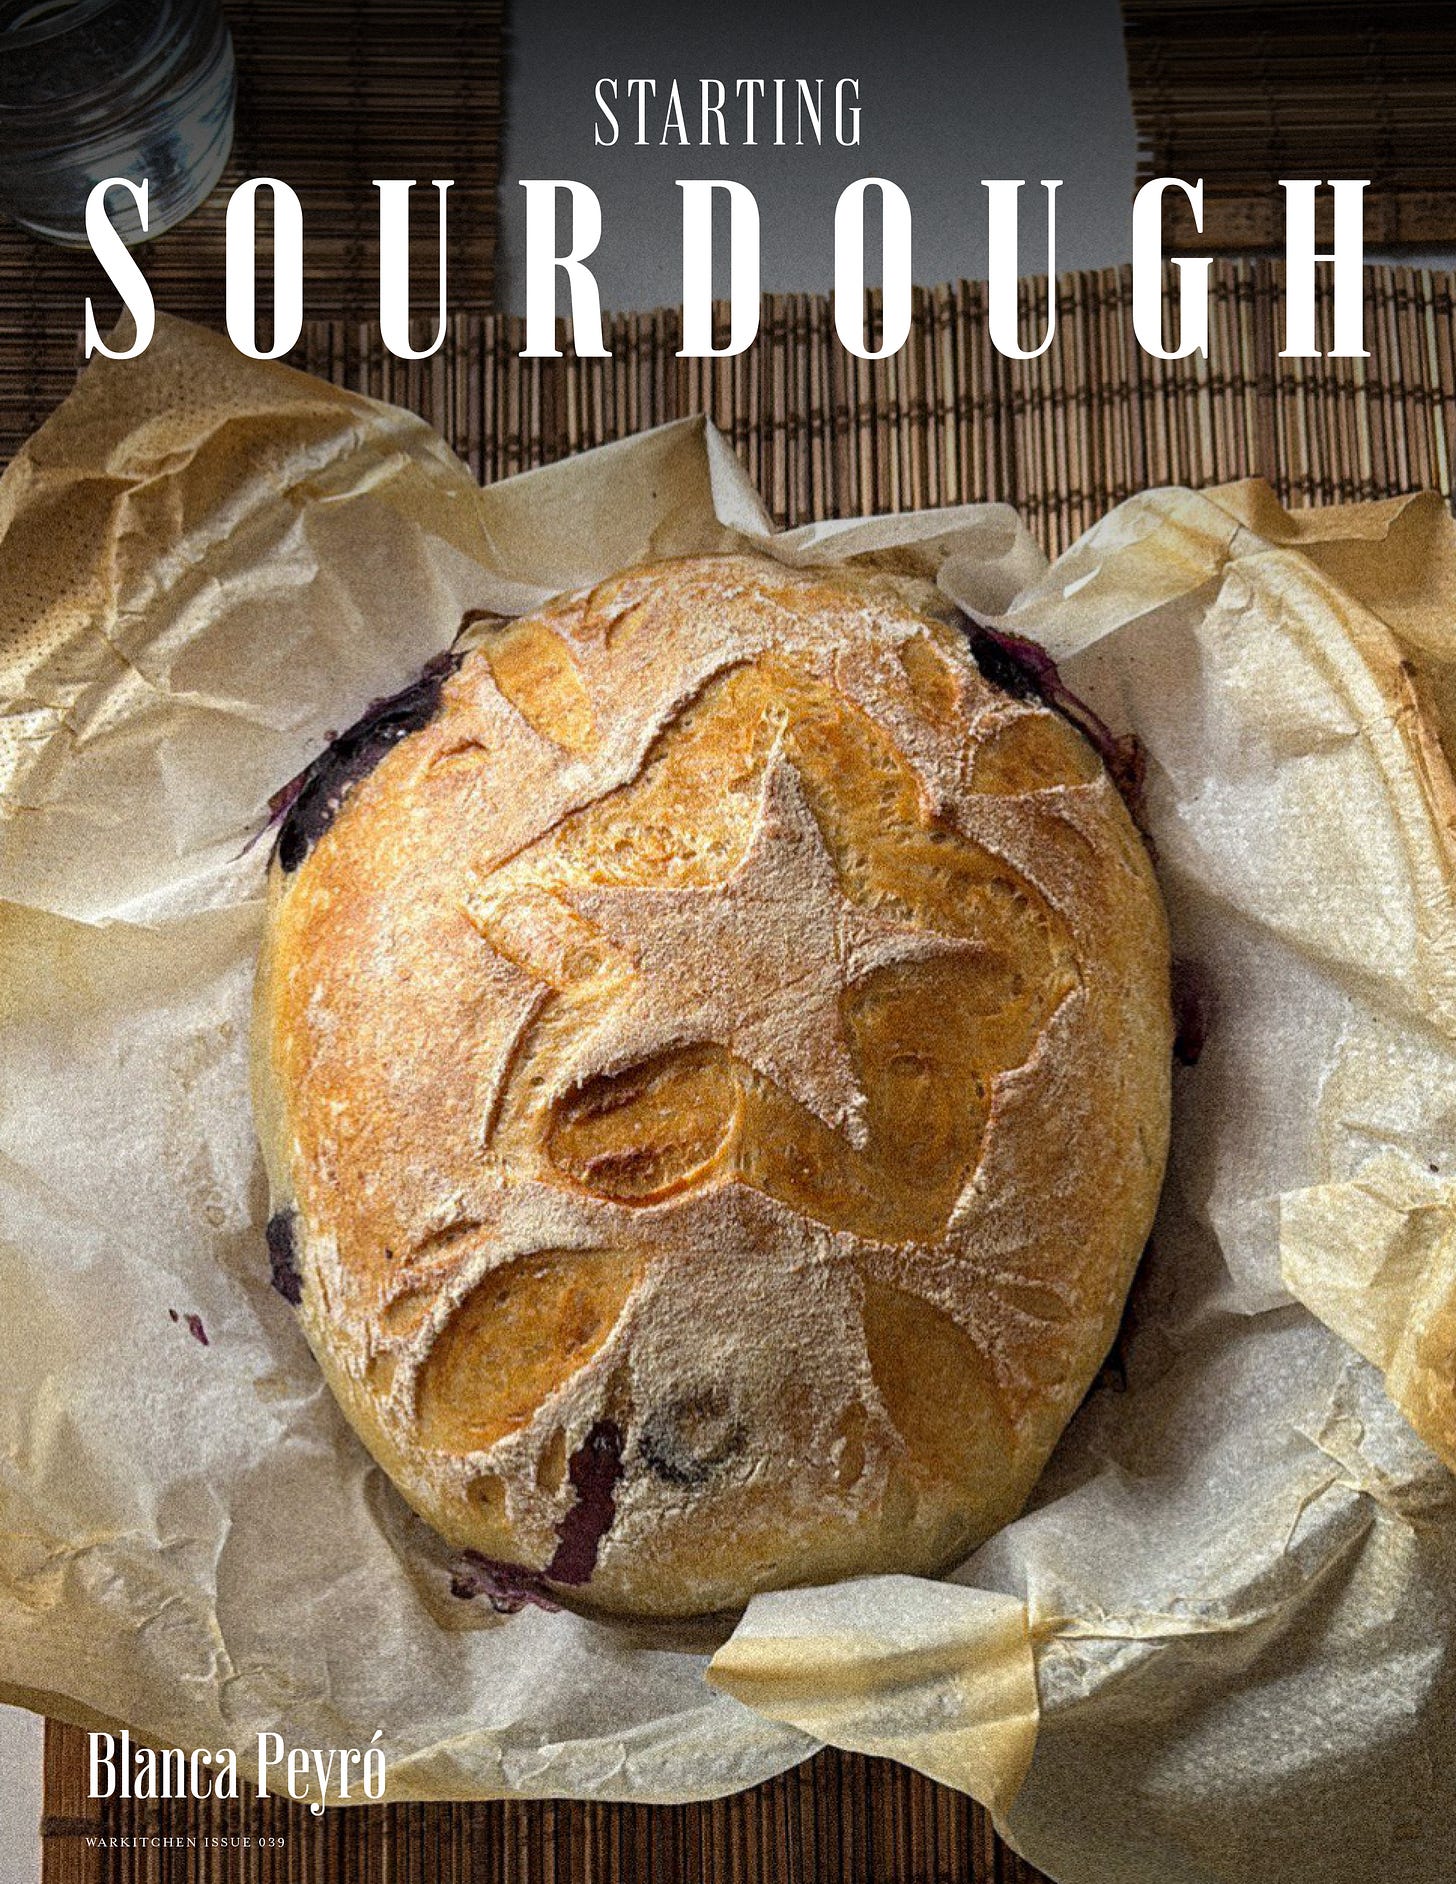
Starting Sourdough
Your Ultimate Guide to Your First Loaf
“To make sourdough, you only need three ingredients: flour, water and salt.”
Sourdough is the most superior of breads. If you have never tasted it, you don’t really know how beautiful simple flavors can get. That signature sourdough tang with butter, salt, and honey is all you need. You could even elevate it with fruit compote, poached eggs, and enjoy a beautiful medley of flavors in your mouth.
As most of the gluten is consumed in the fermentation process, sourdough is much more gut-friendly with a lower glycemic index and more bioavailable nutrients. Modern supermarket bread doesn’t compare. They almost always use additional inactive yeast and a boat-load of ingredients.
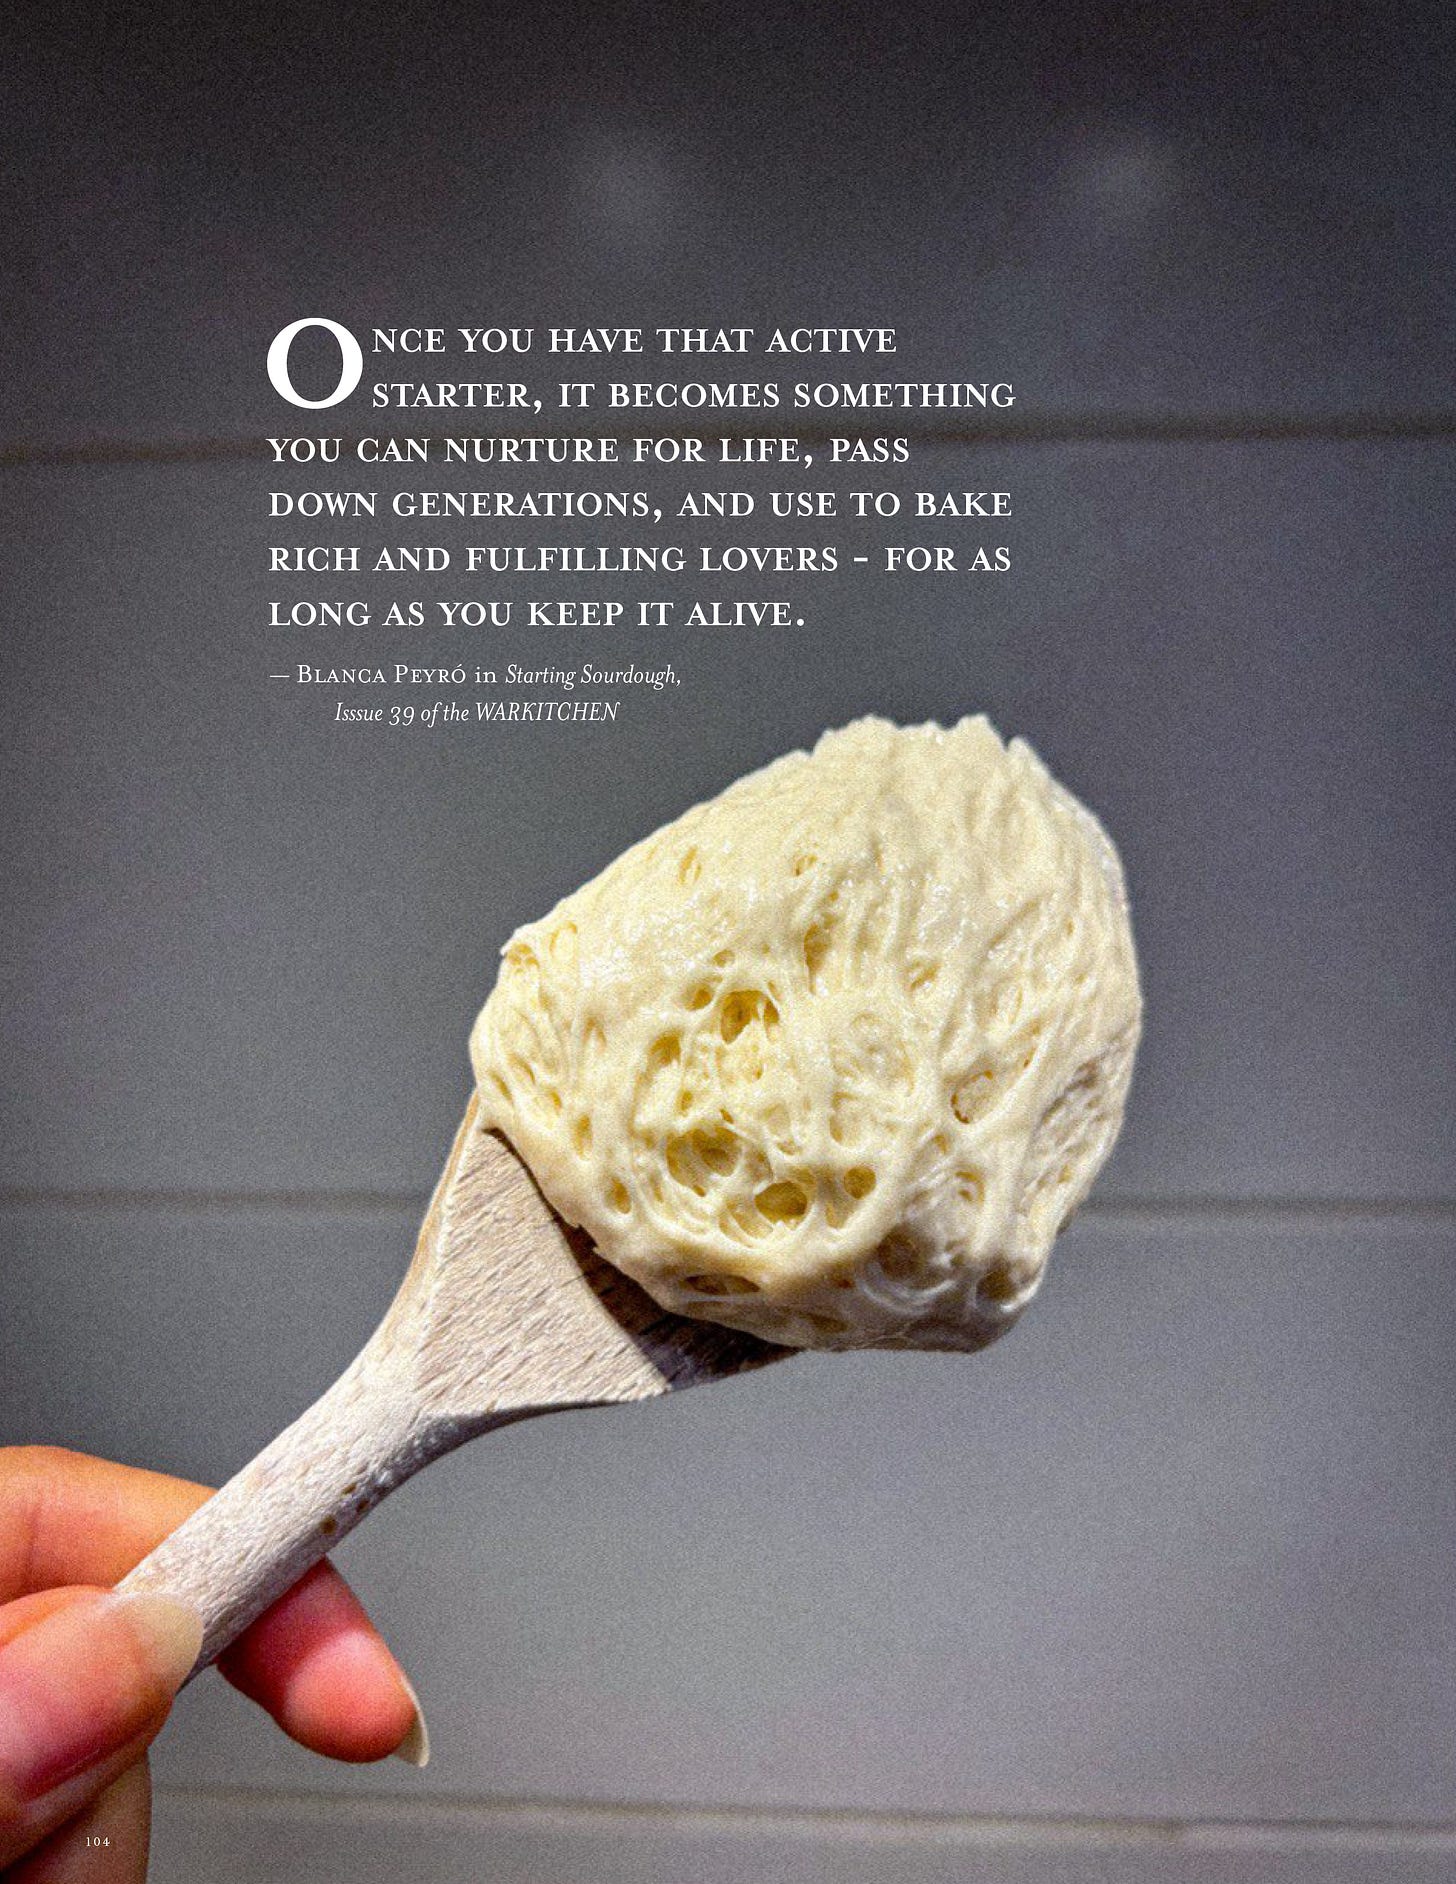
To make sourdough, you only need three ingredients: flour, water and salt. From these ingredients you’ll first make sourdough starter - the most important thing you’ll need for great sourdough. It takes roughly a week or two to create an active and useful starter from scratch. However, once you have that active starter, it becomes something you can nurture for life, pass down generations, and use to bake rich and fulfilling lovers - for as long as you keep it alive.
Making sourdough can be as technically challenging or as simple as you want it to be. If you search online, you might be confused hearing about terms such as humidity, time control, feeding, autolysis, active or non-active, rise, inner temperature, bulk fermentation, cold proof, learning to read the crumb - there are lots of parameters you can harp on, and to a beginner it sounds scary and extremely time-consuming.
In this article, I want you to understand that the process is actually as simple as you want it to be. It just requires patience and consistency.
Sourdough Starter
The most important thing in your sourdough journey will be your starter. To start, mix in a clean, sanitized glass jar 50g of high-protein flour and 50g of lukewarm filtered water. I like taking the knife or spoon I’m using to mix and dipping it in just a little bit of honey. This is totally optional but helps feed the wild yeast. Keep the jar covered with a cloth so it can breathe and so that nothing invades your starter. Set it aside, without direct sunlight, in a dry but not cold spot in your kitchen.
Now, look out for bubbles that will start to form in the mixture - this usually occurs within two or three days but it depends on the quality of flour and your specific environment. Once you see those first bubbles, begin the regular feeding schedule: every 12 hours, discard about 70% of your starter (roughly 70g if you started with 100g), then feed it with 50g of flour and 50g of water. This 1:1 ratio of flour to water keeps your starter balanced.
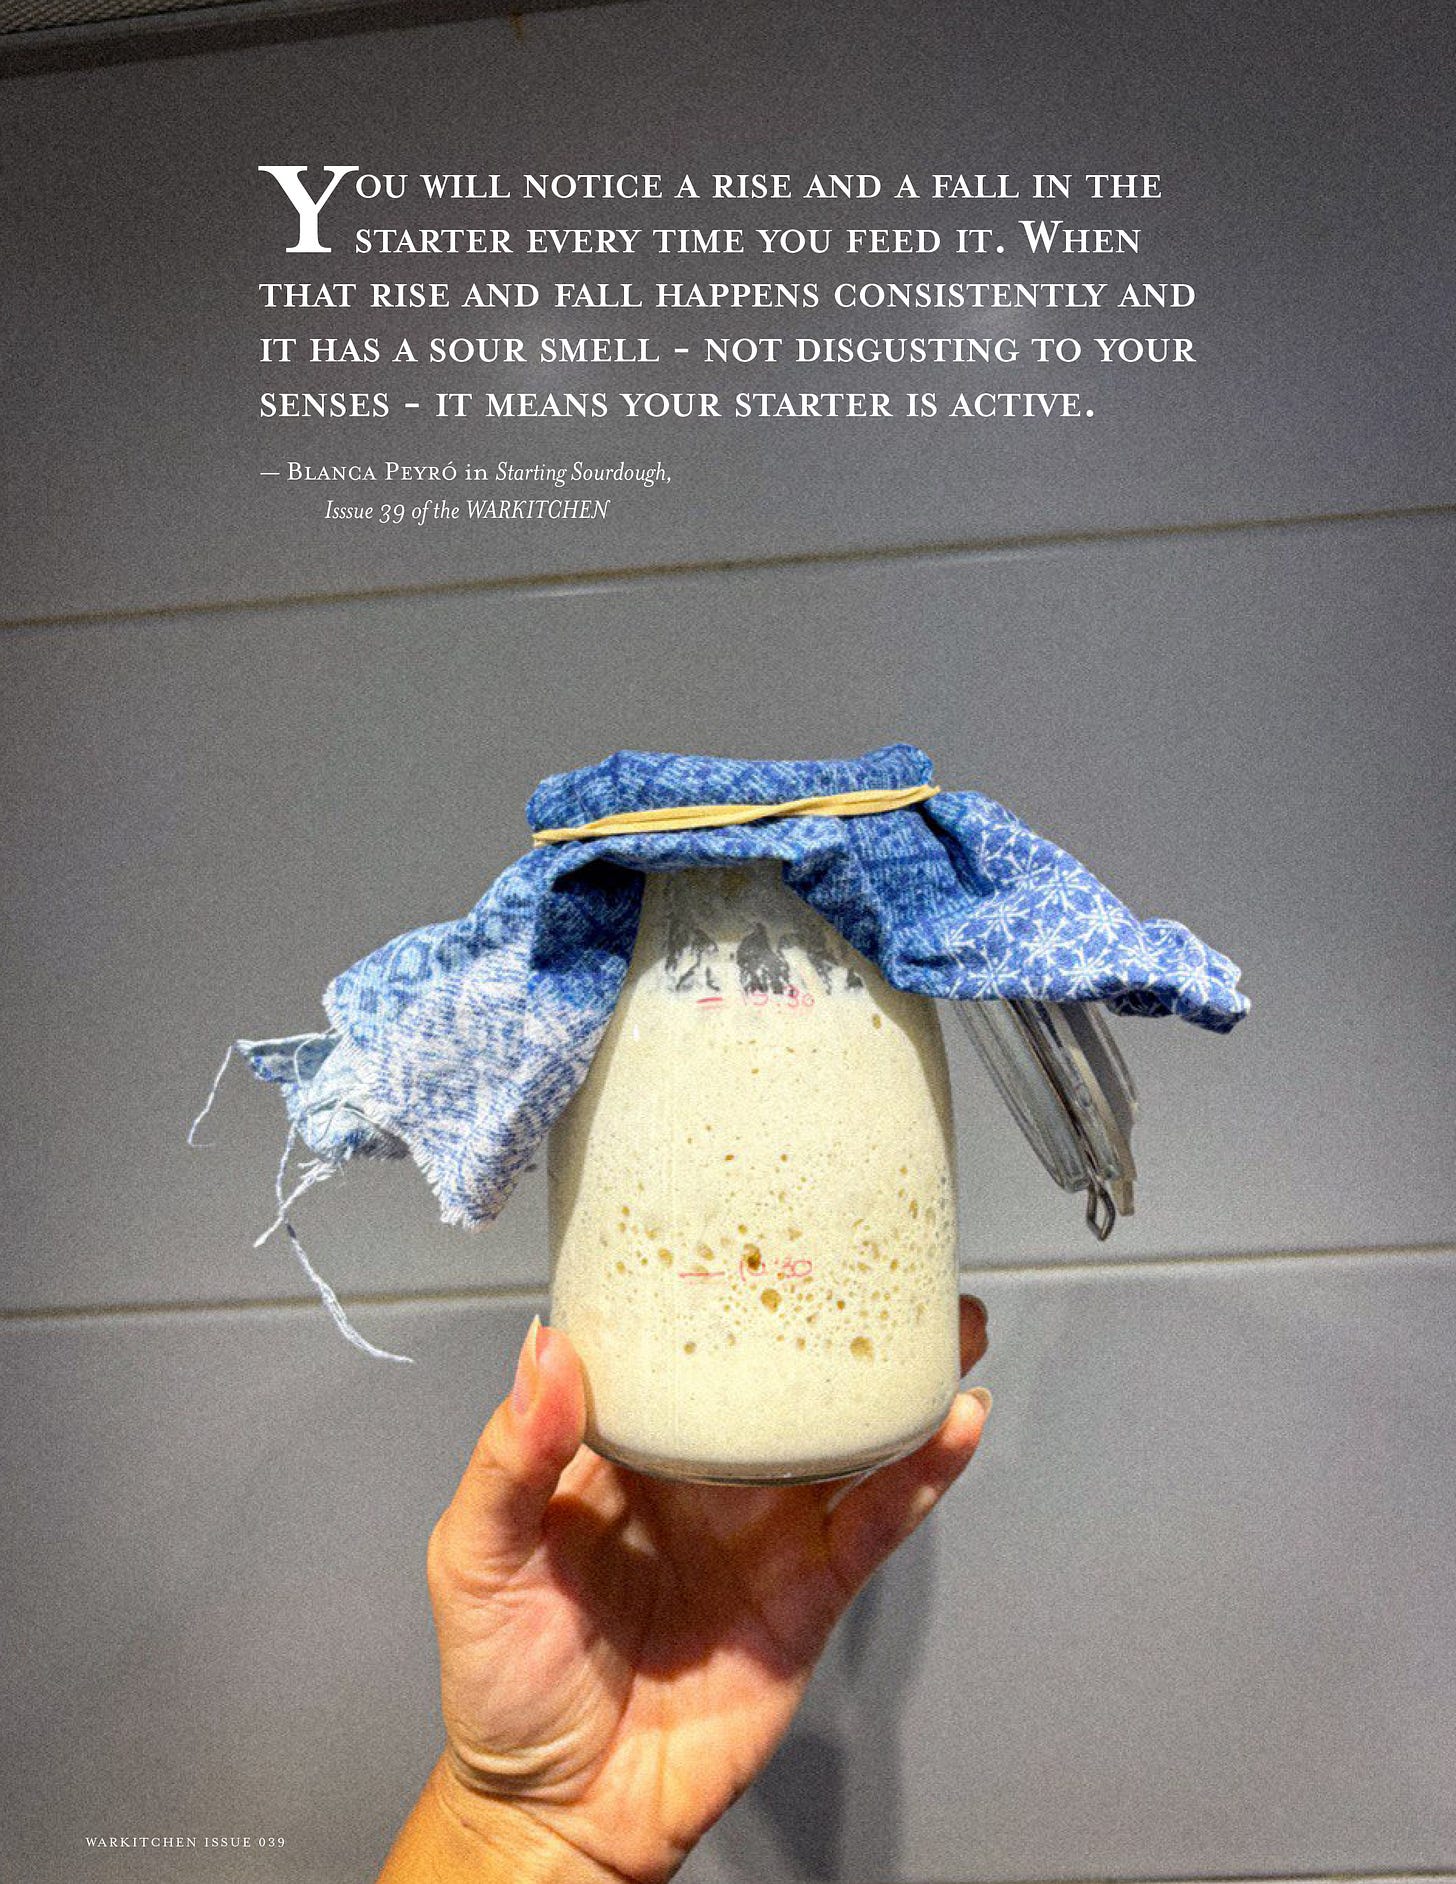
Continue this feeding routine for the next several days. The amount of time it needs until being considered an active starter will depend on its environment. You will notice a rise and a fall in the starter every time you feed it. When that rise and fall happens consistently and it has a sour smell - not disgusting to your senses - it means your starter is active.
At any point of your starter’s life, you might spot a bad smell. This doesn’t necessarily mean it’s mold or that it’s rotten. There’s a huge difference between a tangy or sour, strong smell - which probably only means that it is “hungry” (you’ll need to feed it again) and it’s fermenting more than you want - and a bad acidic smell. If you are not sure about what kind of smell it is (especially in the initial stages), the best tip will be to throw it away and start again - this will save you time. If you spot a dark liquid sitting on top, that’s the residue of the fermentation, another sign that it needs to be fed.
There are a lot of fun recipes on the Internet that require using the discard (the mix you just took out) so don’t feel bad about throwing it out, or use it if you want to.
After your starter is consistent, healthy, and active, I like to change my starter’s consistency to be thicker and stiffer; you can do that by adding less water than flour the next time you feed it. If you feel ready, you can experiment with the percentages of hydration and its advantages and uses. Hydration simply refers to the ratio of water to flour in your starter, expressed as a percentage. A 100% hydration starter (like the 50g flour + 50g water we’ve been using) means equal parts water and flour. A lower hydration starter - say 70% - would be thicker and stiffer, which some bakers prefer because it’s easier to handle and can give your bread a more pronounced sour flavor. A higher hydration starter - around 125% - is looser and more liquid, which can make your bread lighter and airier with a milder taste. The standard 100% hydration is a great starting point, but once you’re comfortable, playing with these ratios lets you fine-tune the flavor and texture of your loaves.
After the starter is ready, I use a simple method that reduces the amount of feeding and the time between each use. I figured out I love having a starter that doesn’t need constant planning and checks. Before baking, I feed it, wait until it peaks, and use it in the recipe I want. Always make sure you have more starter than you need. If a recipe calls for more than you have, increase the feeding a couple of days before.
After using, I feed it again, and store it sealed in the fridge. The cold slows fermentation. Some people take it out of the fridge every week to feed it a bit and then store it again. I’ve had no trouble not feeding it until next time I need it. In that scenario, I take it out of the fridge, wait until it’s a little bit warmer, then feed it. You don’t need to take it out days before you use it; however, you will have to wait longer than usual because the starter will be colder and ferment slower. I used to keep track of all the feeding, annotate the hours, mark the rise and fall, calculate hydration levels, and wait eternally before using it. I spent almost three years doing it and never achieved a healthy, active, consistent starter that made good loaves. The key for me was to keep it simple, and shortly after, my loaves of bread started finally looking like they are supposed to.
Simple Sourdough Bread Recipe
Baking sourdough bread should be presented easier than it is. There are a lot of parameters to focus on, but as long as you mix flour and water, let it ferment, and bake it, it should look like bread and taste like bread. Only after a few successful attempts at making bread would I recommend you start to experiment with the crumb you desire, the size and distribution of the holes, the time in the oven, the folds, the bulk and cold fermentations, when to add the starter, the tangy or milder flavor - or fun features like the scoring pattern or recipes that include fruits, nuts, chocolate, or cheese. All of these steps should be learned one at a time. Sourdough is the way our ancestors used to make bread before the isolation of the yeast in a lab. That means it’s been a tradition for centuries, and you won’t master a tradition in two or three tries, because there is not one “right” technique: you will learn, make mistakes (hopefully not an awful lot), and eventually develop your own recipe with the perfect bread for your taste or your loved one’s taste. You cannot speed up the process, you cannot try to make the perfect recipe the first time.
“It [sourdough] can also be sweeter: experiment with dark chocolate, drizzles of honey, or chunks of figs. These loaves are the ones, in my opinion, that would make you fall in love with sourdough and that will win the hearts and stomachs of your loved ones.”
Here it is: a simple base recipe to master before making those changes. You will need a scale, a bowl, flour, water, starter, salt, a mixing spatula (preferably wooden), a Dutch oven, and parchment paper. Optionally, you can get rice flour to make a scoring pattern.
The morning before baking, take your starter out of the fridge and feed it with 50g of flour and around 35g of water. In autumn, feeding it at 9am means peaking at 3pm, shortly after lunch. At that moment, make the dough by mixing 100g of starter with 375ml of filtered water. Mix it well until the starter dissolves and then add 550g of flour. The dough should be sticky and shaggy. Recipes usually call for adding the salt in this step, but I like to wait 15 minutes. After adding about 10g of salt, fold the dough a couple of times with wet hands and let it rest, covered with a wet cloth on the counter. After an hour, do another set of folds, and keep doing them every 30 minutes for about 3 hours, then let it rest on the counter. At night, before going to sleep, place it in the fridge where it will spend the night.
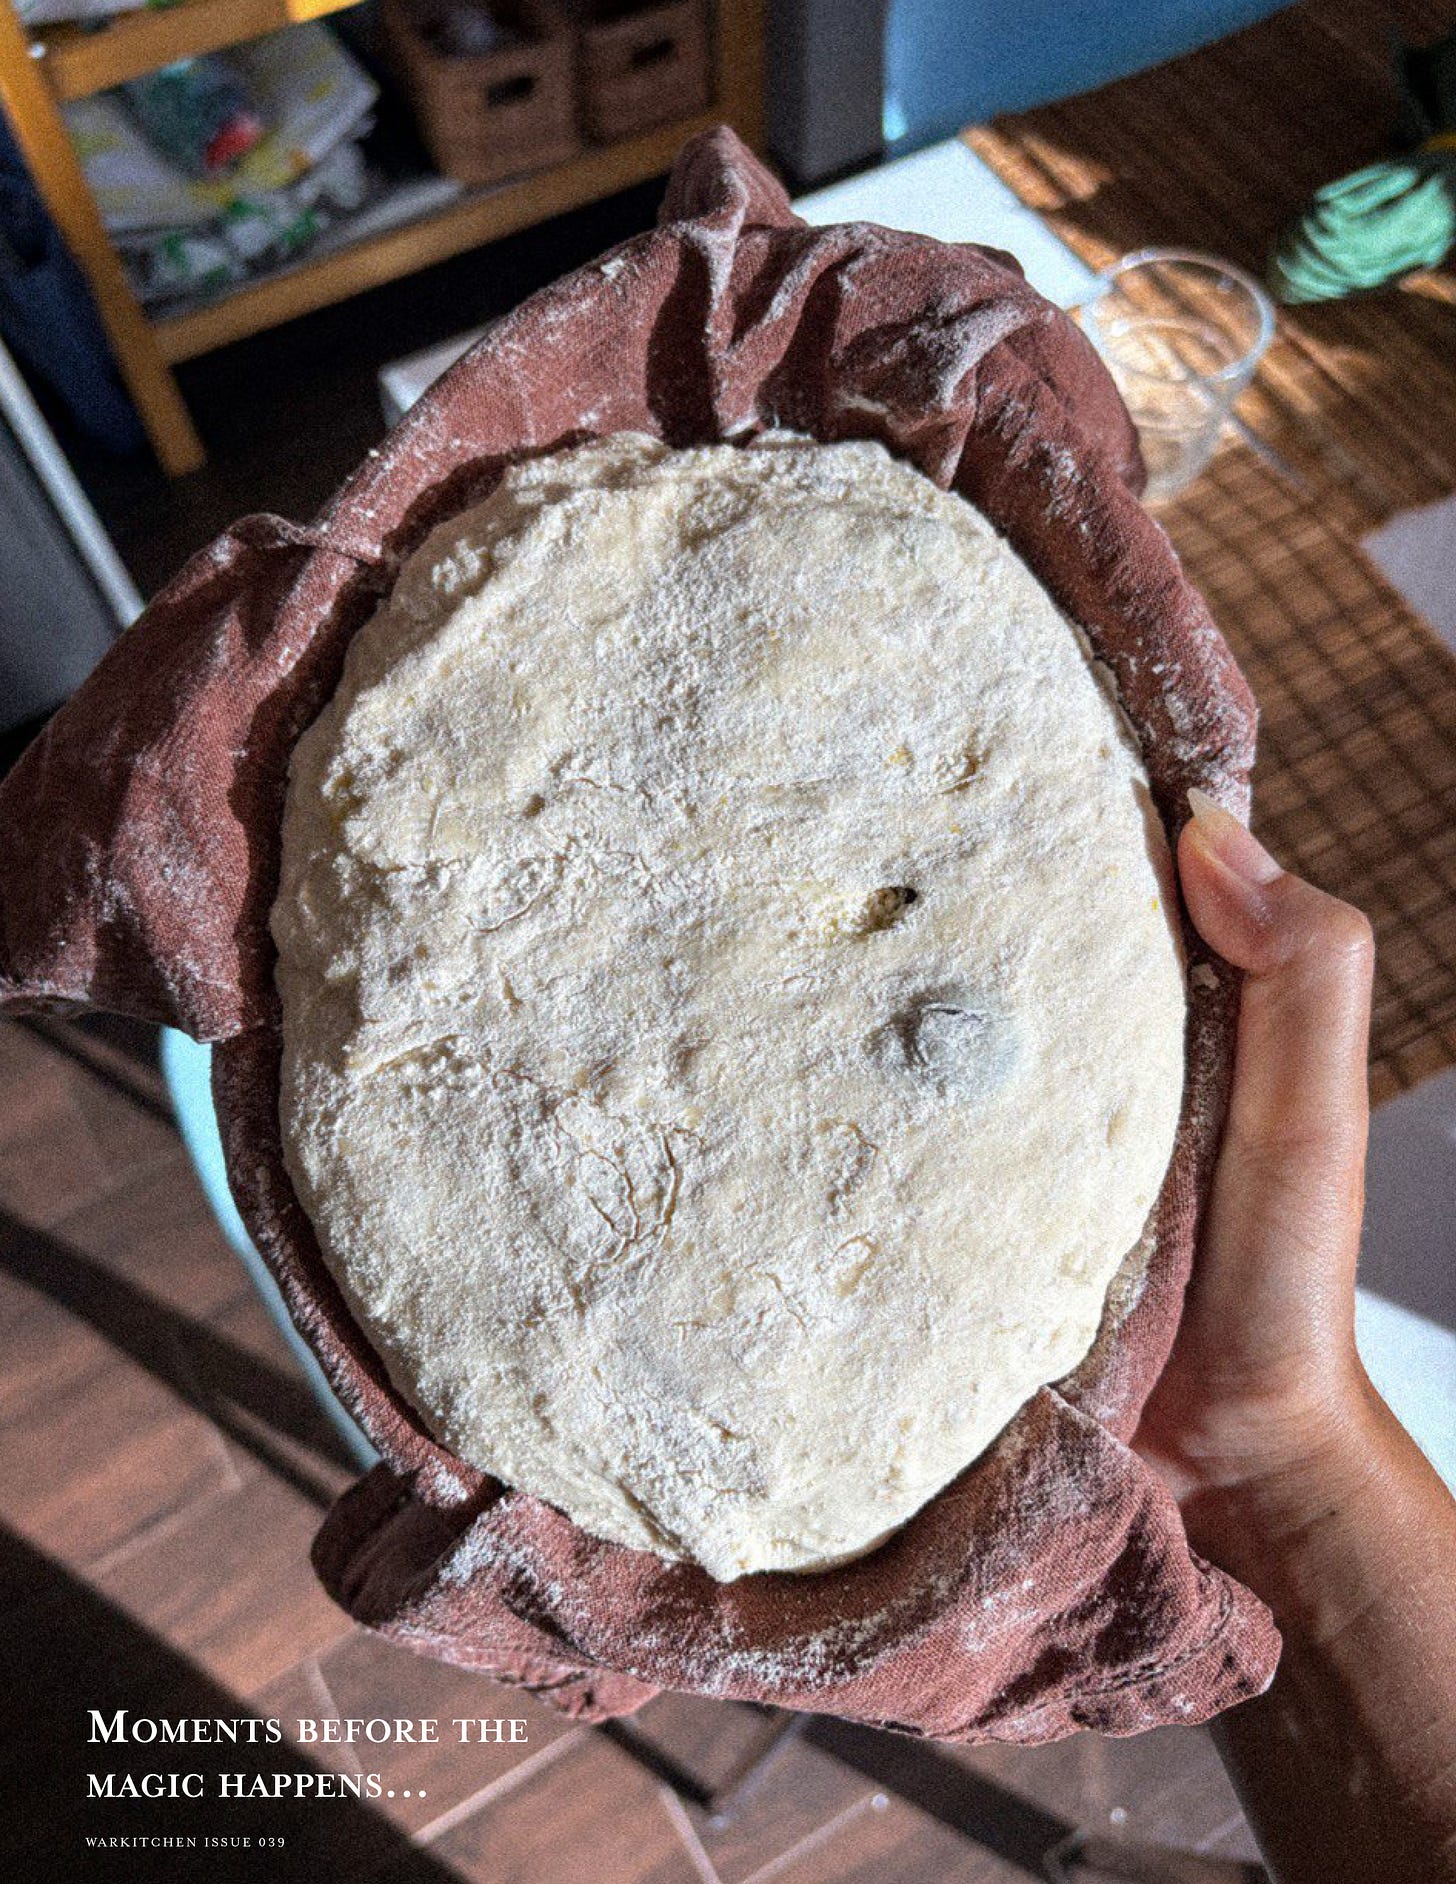
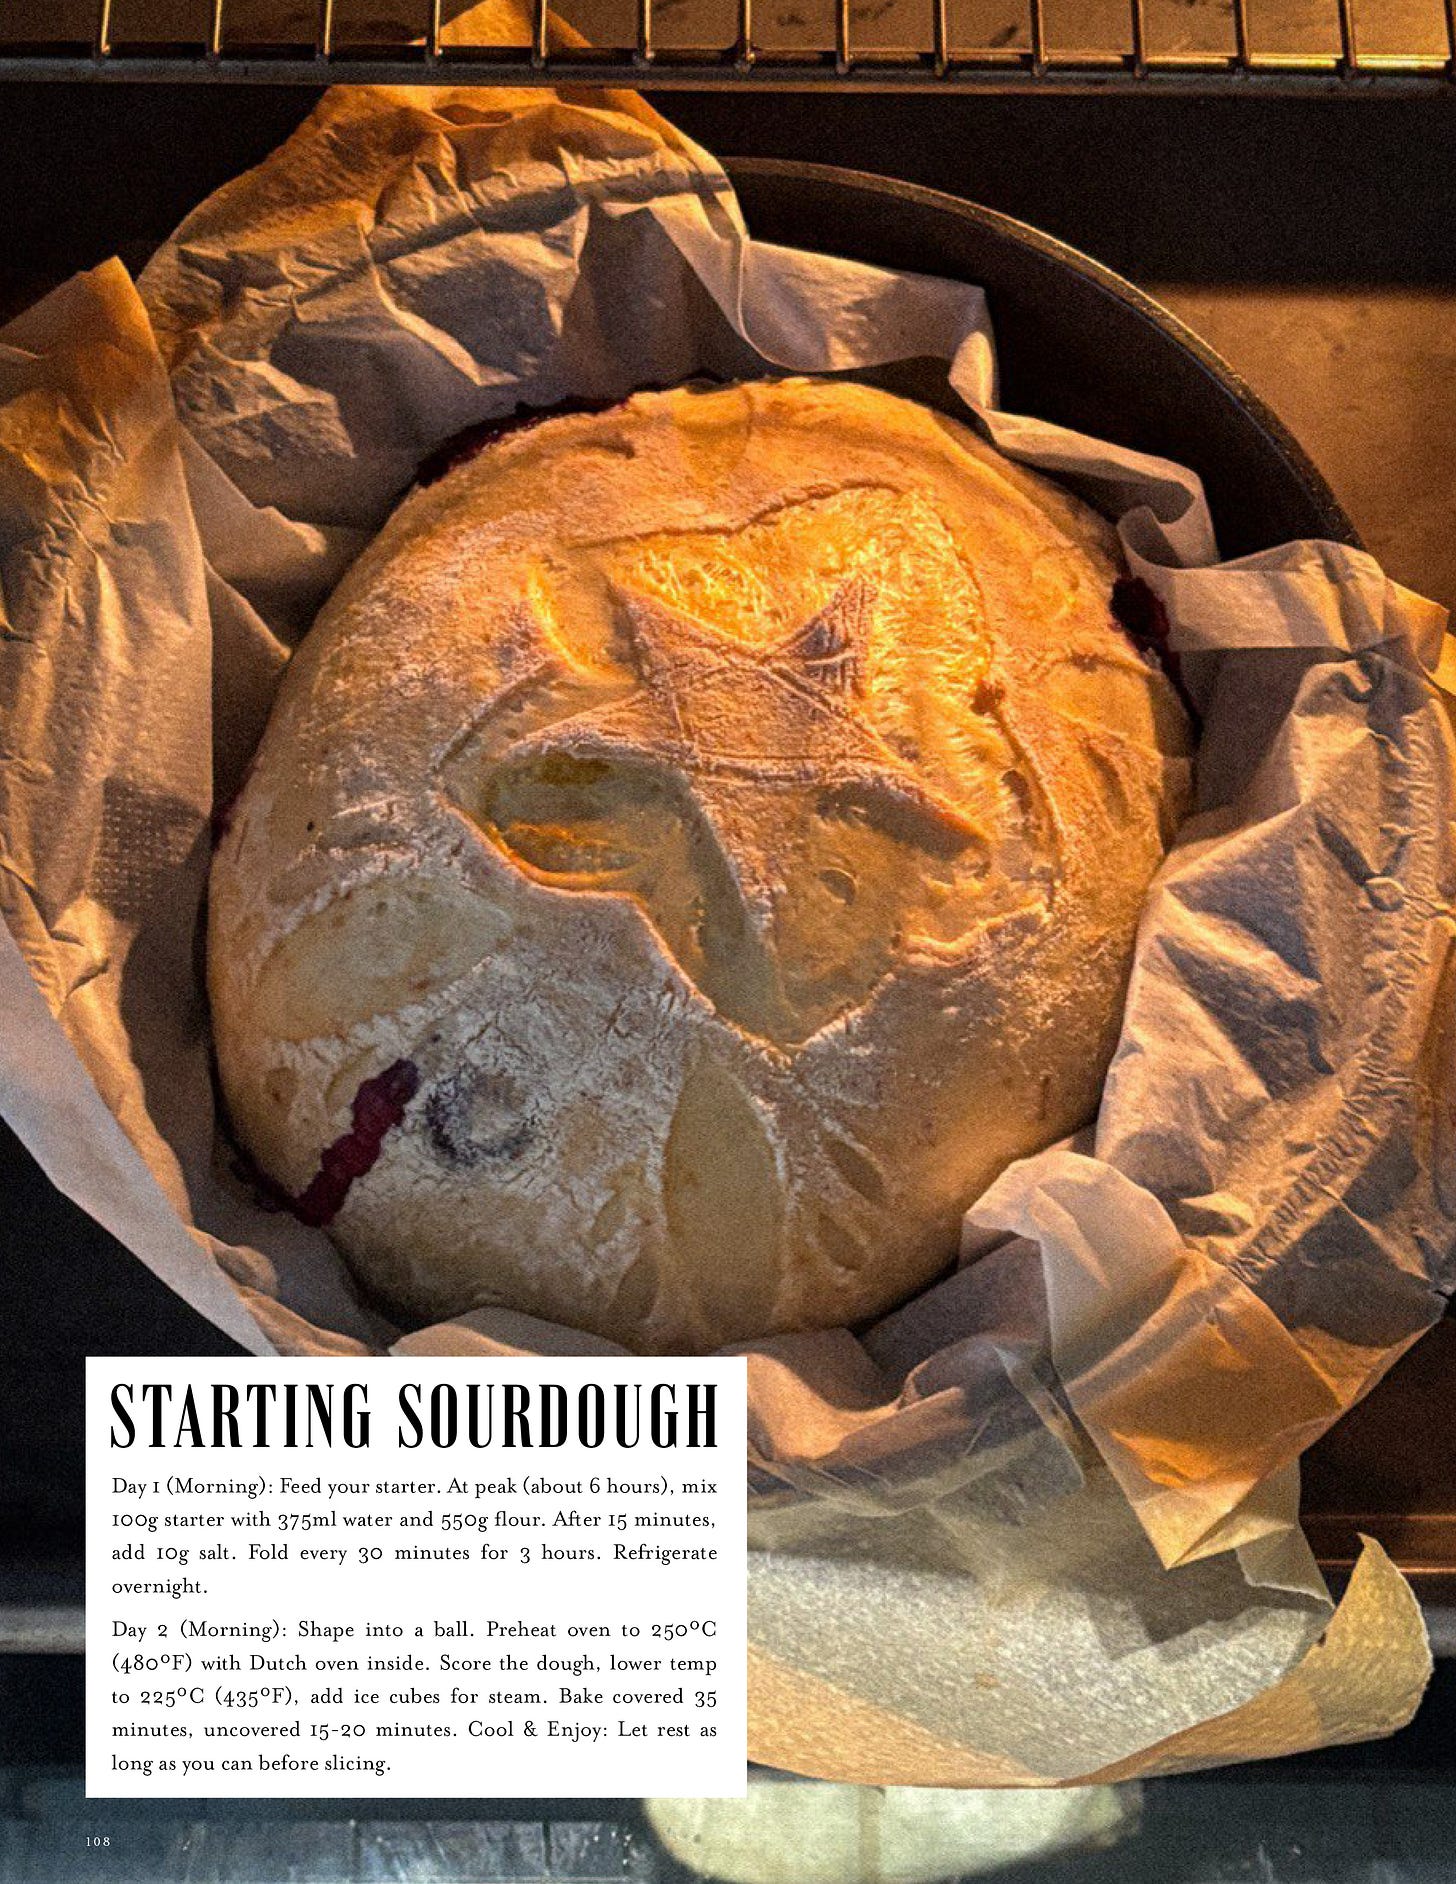
The next morning, the goal is to have a risen, non-sticky dough, with ideally a couple of visible bubbles - when you dip your finger in, the dough should bounce back to its original shape. At 9am, take it out of the fridge. Dust a clean work surface with flour and transfer the dough onto the counter. Shape it by folding it tightly over itself, making a round ball, and create a seam where the dough meets itself. Store it again while you preheat the oven with the Dutch oven inside, until it reaches 250ºC. When it’s ready, sprinkle some rice flour on top and make a score - you can get as creative as you want, but for beginners, aim for a slightly curved score on the side. Lower the temperature to 225ºC, place the dough on the parchment paper with some ice cubes to create steam, which creates a crusty, flaky outside and soft, fluffy inside, and cover it with the lid. Bake for 35 minutes, then remove the lid and bake for another 15 to 20 minutes. Remove from the oven and let it rest and cool as much as you can.
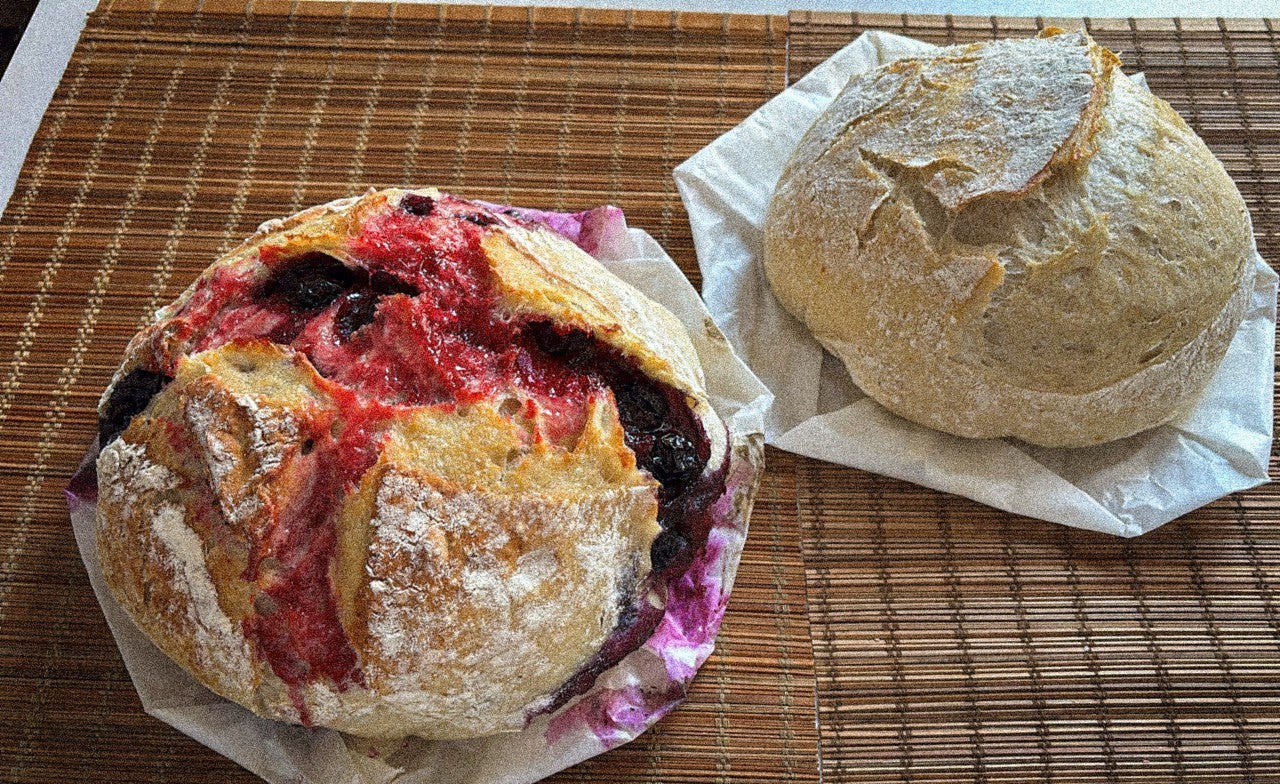
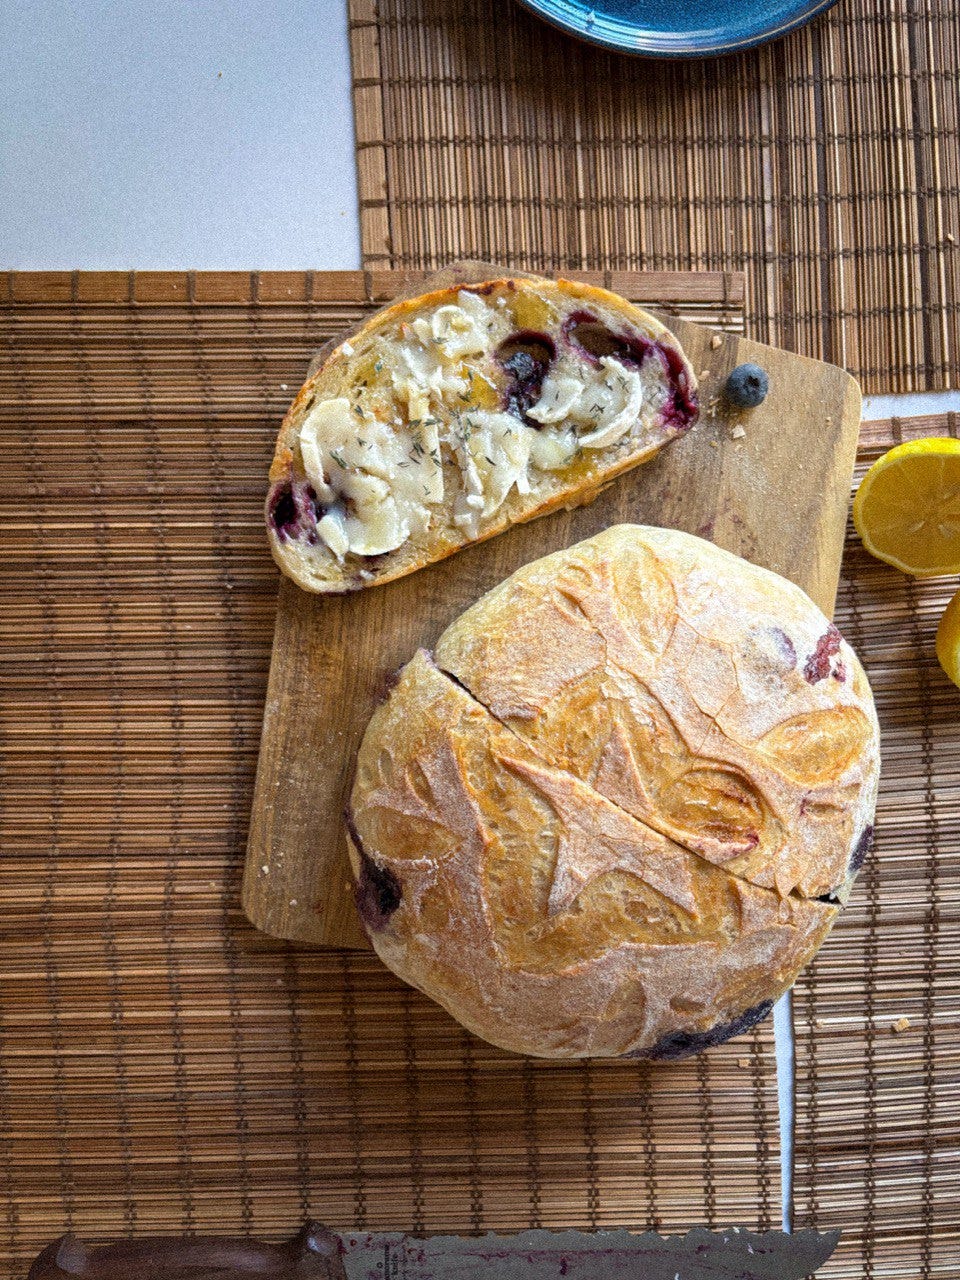
After mastering this recipe, I recommend trying to get creative with the flavors. After your final set of folds (around hour 3-4), gently incorporate any additional ingredients of your choice by flattening the dough slightly, sprinkling your ingredients on top, then folding it over itself a few times to distribute them throughout. Then let it rest before the overnight fridge fermentation. Here are some combinations to try: nuts and dried fruits (I love dates and walnuts), cheese and fruits (like chunks of Brie and raspberries), just fruits (I make every two weeks my personal favorite: blueberries and lemon zest), the classic Mediterranean flavors like olive oil, rosemary, and olives to make a focaccia-inspired bread - it can also be sweeter: experiment with dark chocolate, drizzles of honey, or chunks of figs. These loaves are the ones, in my opinion, that would make you fall in love with sourdough and that will win the hearts and stomachs of your loved ones.
This article & recipe was written by Blanca Peyró. You can reach her on Instagram @blancapeyro.
Blanca’s piece was first published in Issue 39 of the WARKITCHEN. Read the full issue here. Explore the full WARKITCHEN archive here. Enjoy the experience 🥂


