#100 Ever heard of flan?
A gift from the Romans
Let’s talk Flan. This milky egg dessert originated from the Roman empire and found its way in the Iberian Peninsula, or present day Spain, as the Roman empire expanded. When Spanish explorers and settlers ventured to the Americas, they brought this sweet dessert with them. Eventually flan became deeply ingrained in various countries, spreading throughout Latin America.
But you’re probably wondering… what even is flan?
It's a custardy, eggy dessert that's popular in Latin America. It doesn't only look stunning, but it's truly one of the best desserts out there — in both form and function.
In Buenos Aires, flan is omnipresent: a staple on the dessert menu of every neighborhood restaurant that accompanies a cortado or the last drops of wine
Yet, there seems to be so many different recipes and variations of what and how you can make Flan. So in classic WARKITCHEN fashion, I'm going to break down exactly how you can make some good flan this week. See, all flan is is a combination of milk, eggs and sugar. That's it.
You don't need anything fancy. It's all about mastering the ratios and letting the ingredients work themselves.
What You Need:
Conventional oven
9" cake pan
Roasting tray
Saucepan
Mixing bowl
Whisk
Ingredients:
500ml (2 cups) of milk
300g (1 1/2 cups cane sugar)
7 eggs
1 tsp of vanilla extract (A vanilla bean would be a great substitute)
Method
Start by preheating the oven to 350°F.
At medium heat, stir 1 cup of cane sugar constantly in the saucepan, until a sweet caramel starts to form.
Pour the caramel in the cake pan and coat the bottom surface (do this immediately, but be careful as it is hot). Set aside.
In a mixing bowl, beat the eggs lightly with a whisk and incorporate it with 1/2 cup of cane sugar.
Add the milk and vanilla. Whisk well. The sugar should be completely incorporated (pinch to check).
Once incorporated, pour this mixture over the caramel layer in the pan. Place the pan in a larger roasting tray.
Pour in boiling water that reaches almost halfway on the cake pan. What you're doing here is a bain marie — a water bath that will help with getting the delicate texture.
Bake until nearly set (it should wiggle just slightly in the center) for about 35-45 minutes. Be careful not to over-bake or it can become rubbery.
After baking, remove the pan from the water bath and let it rest until cool. Then, let it sit in a refrigerator for at least 4 hours or even overnight. It's best consumed the next day.
To get it out of the cake pan, you'll want to flip it entirely using a plate to cover the cake pan. Lightly tap the cake pan or even use a knife around the circumference to release the flan.
It's best served with some dulche de leche, and/or freshly whipped cream. Bon Appetit!
Variations & FAQ
You could add some cream cheese with the milk for a thicker, more "cheesecake" like consistency, though it's not very traditional.
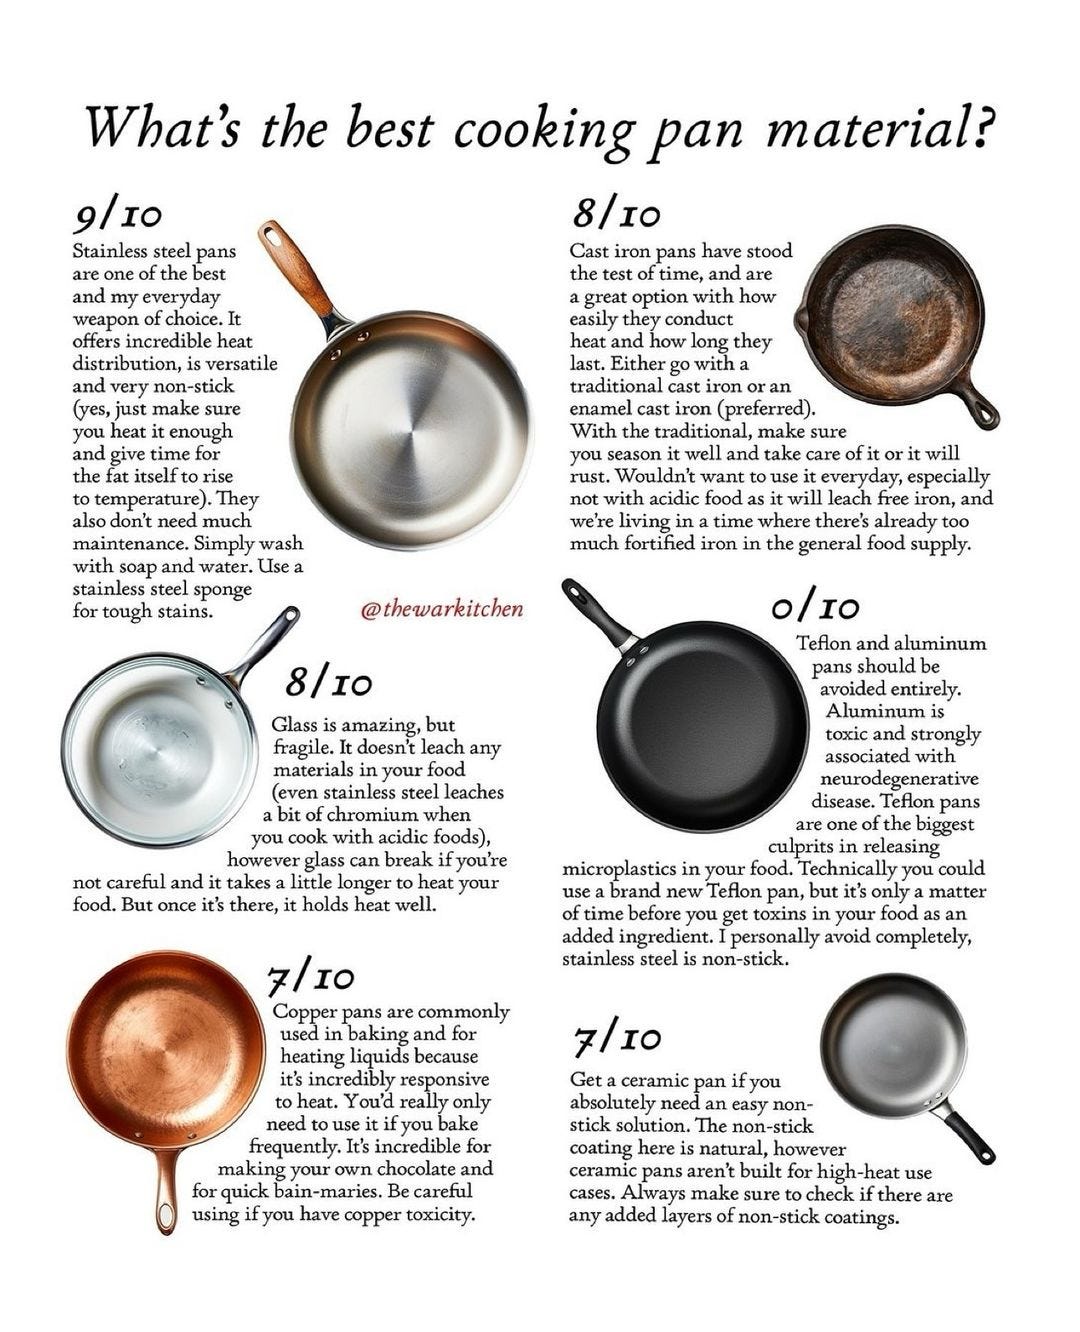
You can use a Flan Mold instead of a cake pan — just make sure you get one that's stainless steel and not aluminum (scroll to cookware post to understand why).
To store leftovers, keep in the refrigerator and consume within 3 days.
Is a water bath necessary? Yes, to make sure you get the perfect flan texture — it helps prevent the flan from cracking or developing an overly rubbery consistency. If you're confused about the bain maire, watch this.
Remember, the key to a successful flan is patience — from carefully caramelizing the sugar, to slowly letting it cook in the water bath, to allowing it to fully chill in the refrigerator. It's all about letting the ingredients do the work 🥂
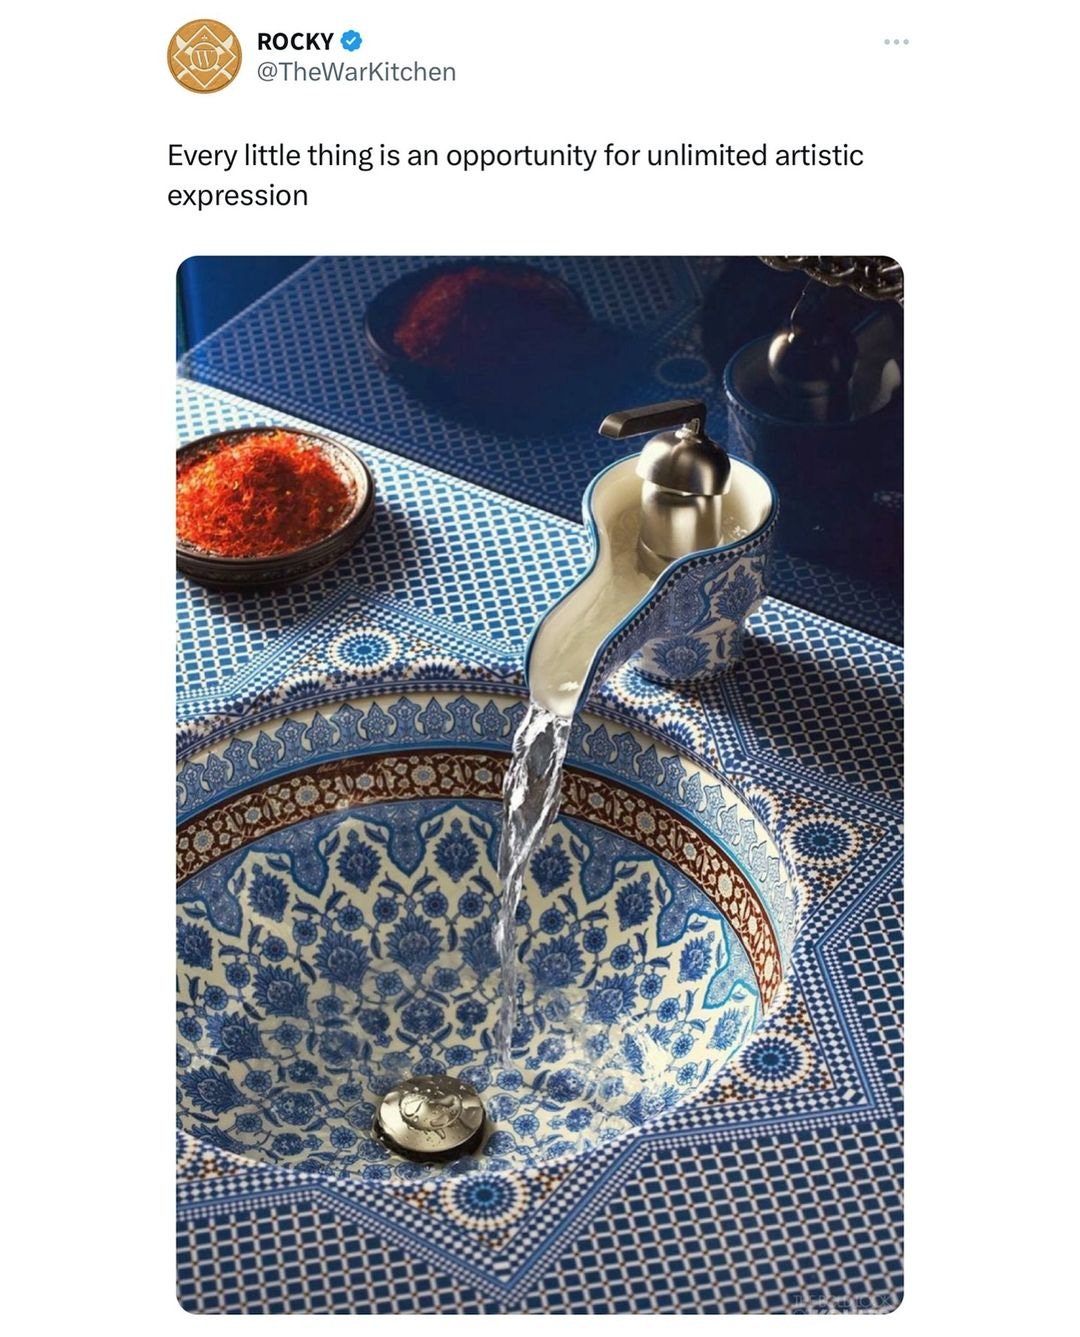
Sinks are an Art form
Every little thing is an opportunity for unlimited artistic expression. Sinks are an Art form.
Our cheatsheets are turning into prints
We're turning your favorite cheatsheets into 8.5" by 11" prints that you can frame in your kitchen. These 8 pieces will be part of the first print drop, "Fundamentals". What changes should we make? What else should we include with this? Appreciate all of you 🥂
Lock-in October
It's time to lock in this October 🥂
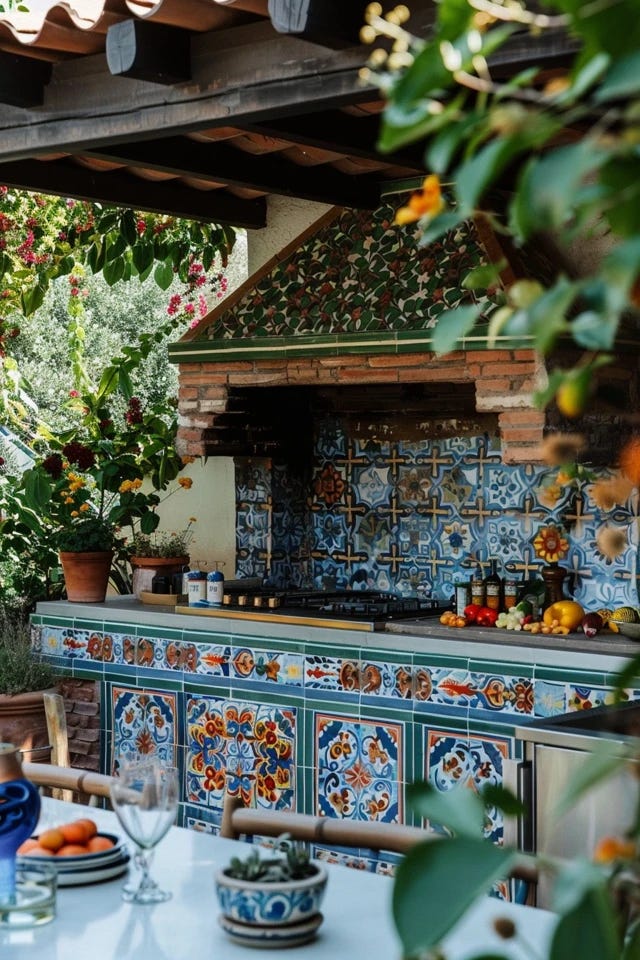
❋ CHIC OUTDOOR KITCHEN TILE IDEAS FOR YOUR PATIO
Outdoor kitchens have become a popular addition to patios, providing a stylish and functional space for entertaining. One of the key elements in creating a chic outdoor kitchen is the use of tile. Whether you prefer ceramic, porcelain, marble, travertine, slate, or granite, there are endless options to choose from. In this section, we will explore some of the best outdoor kitchen tile designs, top trends, and sources of inspiration to help you create the perfect outdoor cooking and dining area for your patio.
When it comes to outdoor kitchen tile materials, natural stone is a top choice due to its beauty and versatility. The various options available allow you to create a customized and personalized outdoor kitchen design that suits your style and preferences.
Marble:
Marble is a timeless natural stone that exudes luxury and elegance. Its smooth surface and unique veining patterns add charm and sophistication to any outdoor kitchen. From classic white Carrara marble to vibrant Calacatta gold, there are numerous options to choose from.
I looked in all my recipe books and on the internet and could not find one recipe that was made from pears alone or at least mainly pear. The closest i got was the ABC website which had a recipe for tomato, pear and lemon paste which sounded lovely but the main fruit were tomatoes to a ratio of 2:1. I wasnt too sure about using quince paste recipes with a straight swap of fruit weight as quince has alot more pectin than pears so the fruit/sugar ratio is more stable. So i pretty much had to wing it using the ABC recipe as a guide and I reduced the amount of sugar as there was no sloppy tomato to stabilise. Here's what I did.
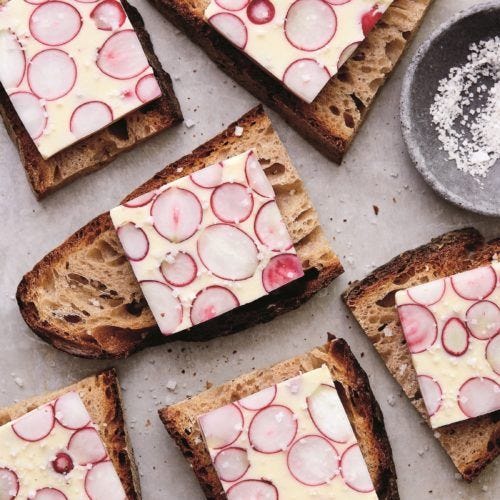
The first time I tasted delicate radishes with butter and rustic bread was a revelation. How could only three ingredients be so transformative?
Using a knife or kitchen scissors, remove the taproots and leafy tops from the radishes, forming perfectly round spheres. Wash and thoroughly dry the radishes.
In a large bowl, fold the softened butter with the radishes using a rubber spatula. Oil a mini loaf pan (about 5¾ by 3¼ by 2 inches) and line it with plastic wrap; press and pull the wrap as needed to eliminate air bubbles. Transfer the radish butter to the pan and spread it to the edges; smooth the top and tap the pan on the counter to remove any air bubbles. (Alternatively, transfer the butter directly to a sheet of plastic wrap or parchment paper and roll it into a log.) Refrigerate the terrine until very firm, 4 to 6 hours.
Using the plastic wrap, lift the terrine out of the pan and transfer to a work surface. Remove the wrap. Using a very sharp knife or gently serrated bread knife, cut the terrine into ¼-inch-thick slices. Serve with slices of fresh baguette and finish with fleur de sel.
Use avocado oil instead of vegetable oil :)
❋ Read our latest WARKITCHEN magazines:
❋ Get your copy of Optimal Fuel: Your Nutrition Playbook here. It's a cookbook and nutrition guide — all in one. All proceeds goes towards an outrageous amount of hearty ribeyes and raw honey!
❋ If you’d like to contribute an article or sponsor a future issue, please send us your pitch to rocky@warkitchen.net.
❋ We release a digital magazine issue every month. Explore the full archive here.
❋ Adding us (rocky@warkitchen.net) to your contacts, or moving us to primary will make sure you continue receiving these emails. Connect with us on all our socials.
Hope you had a beautiful weekend,
Godspeed!









Wonderful topic!!!
As a resident of Santa Fe for over a decade, I got to taste many different abuela’s home recipes. Wow!!!
Got the email and made it that same night, had it the next day, delicious, the texture was amazing